DevBlog #5 - Xen-Orchestra Audit Log
XO Audit Log is a tool that records all important actions performed by users and provides the administrator an overview of these logs to help them investigate in case of suspicious or problematic activities.

XO Audit Log is a tool that records all important actions performed by users and provides the administrator an overview of these logs to help them investigate in case of suspicious or problematic activities.
Please note that this is the very first version of the Audit Log and that it will be improved in the upcoming months, so feel free to send us your feedbacks :-)
Why use Audit Log?
- It prevents dangerous manipulations by giving admins visibility into users behavior inside their infrastructure
- It identifies which user accessed Xen Orchestra at a given time and what actions they have performed
- It allows admins to know how many times a user has used the VM/Host console
Trustability of the records
As we've said before, Audit Log is a tool which can help detect and analyze the activity of malevolent actors, but it is obviously not helpful at all if it's been compromised and its logs have been altered to hide the tracks of the nefarious activity.
That's why we have taken steps to make sure that logs can not be changed or deleted without detection.
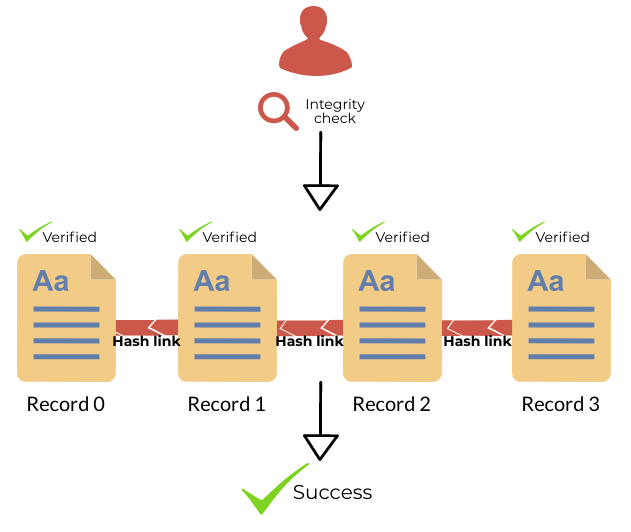
To achieve this goal, records are chained using a hash chain structure, which means that each record is linked to its parent in a cryptographically secure way.
This is done recursively so that the latest record can ensure the integrity of the journal as a whole:
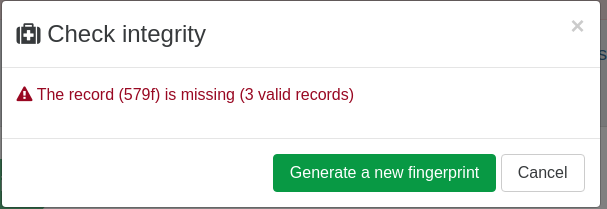
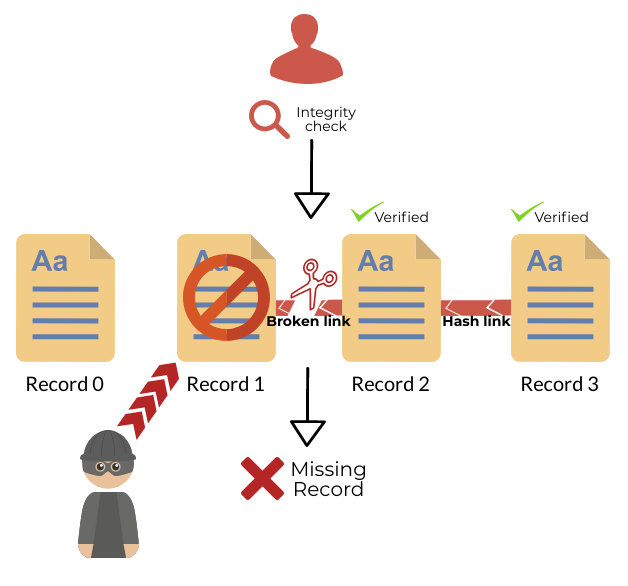
If a record has either been deleted or altered, the Audit Log will be able to detect it and tell you which one:
Usage
To access the Audit Log, simply click on Settings/Audit:

There, a table of chronological records is displayed, they show all actions that have been performed by XO users:
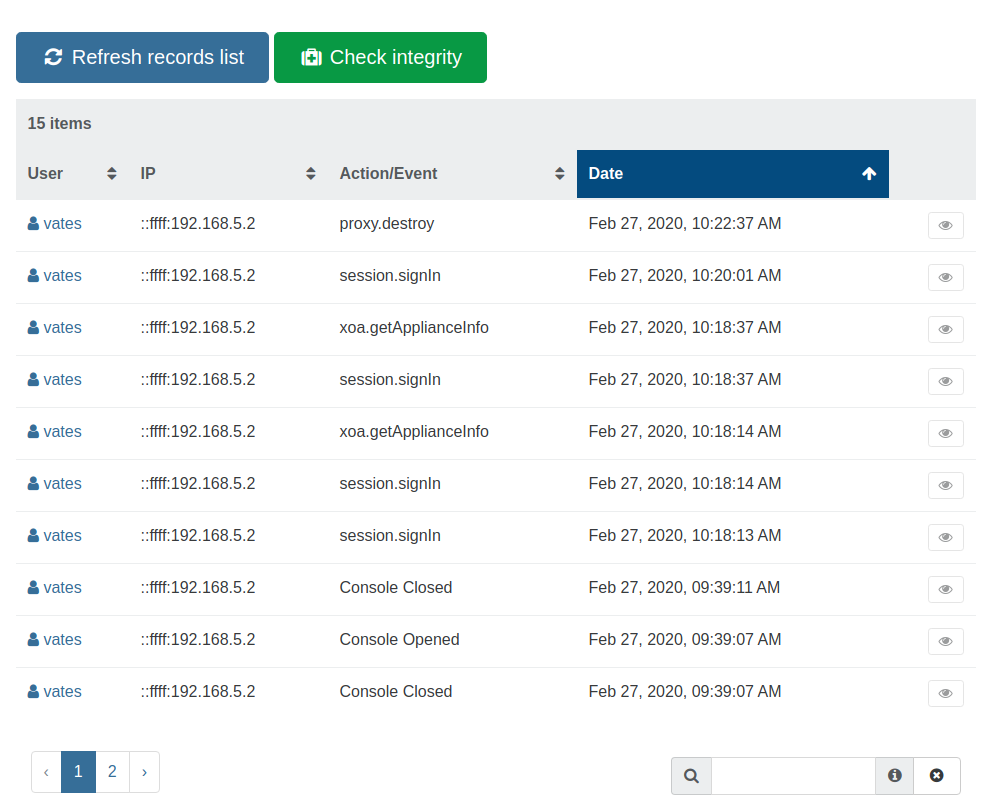
By clicking the eye button to the right of a record, you can display the complete raw data associated with it.
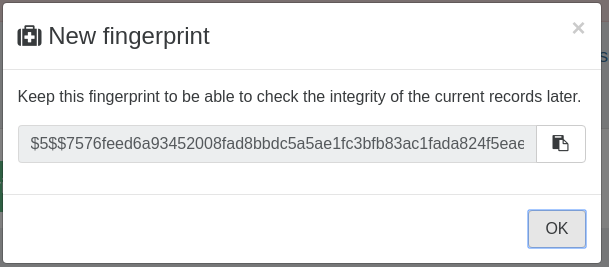
Generate a new fingerprint
To ensure the integrity of the journal, it is first necessary to generate a fingerprint of the existing records.
This fingerprint will then be usable in the future to ensure that the related records have not been deleted and or altered.
Note: this is a manual process for the first version of Audit Log, but in the future fingerprints will be generated automatically and sent to a secure server (they do not contain any confidential data).
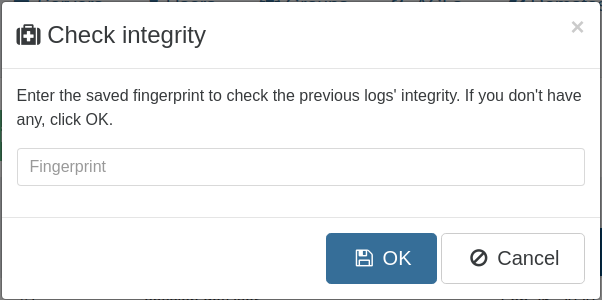
Generating a new fingerprint is usually done after checking the integrity of past records using a previous fingerprint, that's why to do it you need to click on the Check integrity button.
The first time you do this, simply leave the Fingerprint field empty, click OK and then click on Generate a new fingerprint.
You will then be presented with a new fingerprint that you will be be able to use in the future:
Check the integrity
To check the record integrity simply click on the button Check integrity, and enter a previously generated fingerprint in the Fingerprint field:
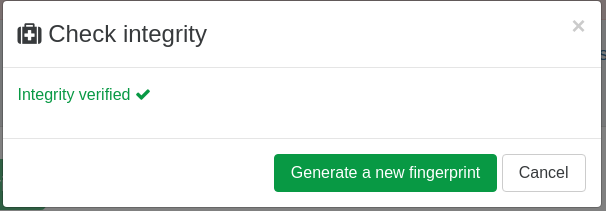
When clicking OK you will be informed of the health of your record.
Successful integrity check:
Failure integrity check: