
Upgrade to XenServer 7.3
Our guide to upgrade to Citrix XenServer 7.3, from any older version!


XenServer 7.3 is now available. Let's see how to upgrade (or update!) it.
Some free features are removed in 7.3. Please read this before upgrading.
Xen Orchestra is 100% compatible with XenServer 7.3.
From XenServer 7.2
If you are running XenServer 7.2, the process will be only an update, not an upgrade.
WARNING: whatever solution you use (XO or xe), the update process takes a while (15min+ per host), because there is a lot of RPMs packages to upgrade in this pack. DO NOT RESTART TOOLSTACK OR HOSTS DURING THE PROCESS.
Via Xen Orchestra
Download the pack here and save it on your PC.
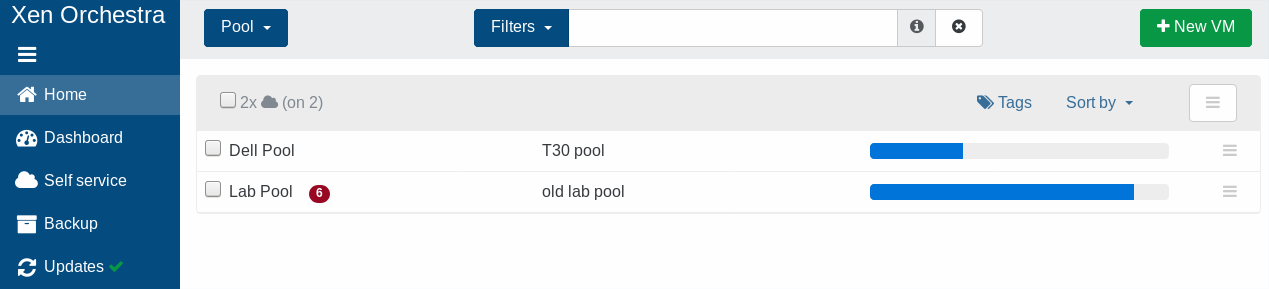
Go into the Home/pool view and select the pool you want to update:
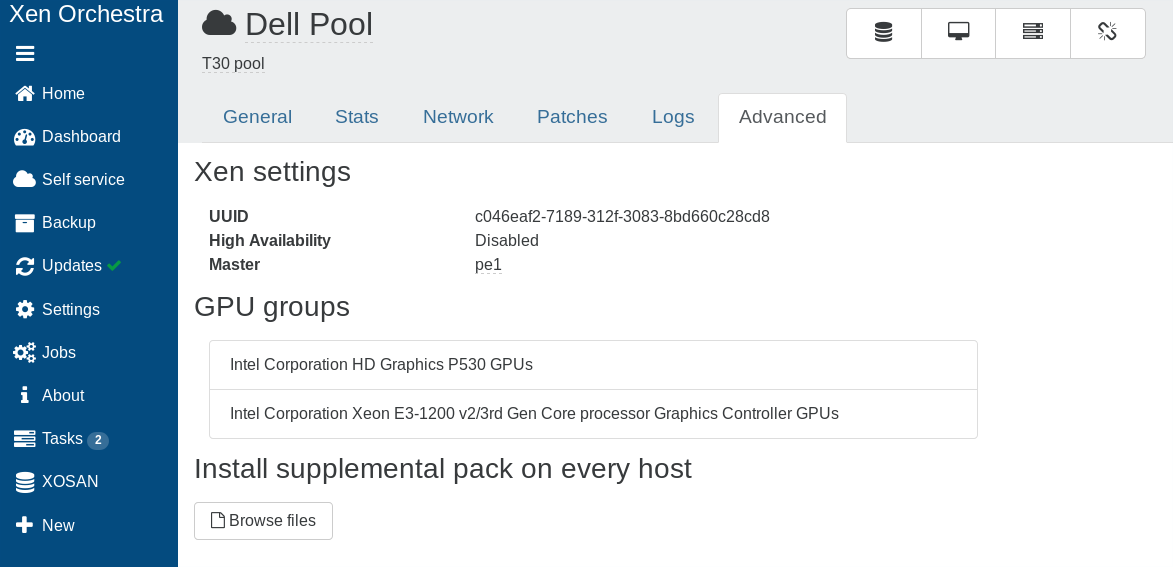
Go into the "Advanced" tab and click on "Browse file" in the "Install supplemental pack on every host", then select the file you downloaded earlier:
Now, you have to wait for a while. See the "Monitor update process" section below to see what's happening on your host. While there is a update task in the "Task" view, DO NOT reboot or restart toolstack on your host:
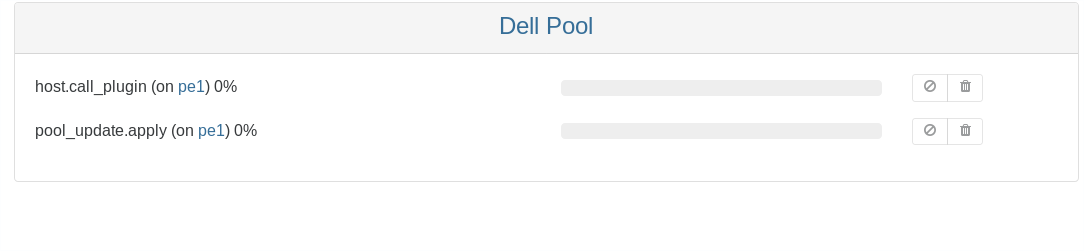
When there is no pool_update.apply task left, you can reboot the hosts to have all updates validated. You can do it later, but it's recommended to do it ASAP.
Via XE cli
You need to download the update "pack". You can do it directly from your pool master:
$ wget http://downloadns.citrix.com.edgesuite.net/13372/XenServer-7.3.0-update.iso
Then, still on your pool master, you can upload the update on the storage of your choice (even not shared):
$ xe update-upload file-name=XenServer-7.3.0-update.iso.1 sr-uuid=<ANY_SR_UUID>
This will return the patch UUID. Keep it in your pastebin.
Now, we'll apply the update on all hosts
$ xe patch-pool-apply uuid=<PREVIOUS_UUID_RETURNED>
Finally, keep in mind this command can take up to half an hour.
Monitor update process
Because it's very long, it could be hard to tell what's going on. But you can actually check what's happening:
# tail -f /var/log/yum.log
Dec 15 12:59:37 Updated: vendor-update-keys-1.3.3-2.noarch
Dec 15 12:59:38 Updated: bugtool-conn-tests-1.1.7-1.noarch
Dec 15 12:59:39 Installed: update-XS73-1.0-1.noarch
Dec 15 13:01:17 Erased: control-XS72E012-1.0-1.noarch
Dec 15 13:01:18 Erased: update-XS72E012-1.0-1.noarch
Dec 15 13:01:19 Erased: control-XS72E010-1.0-1.noarch
Dec 15 13:01:20 Erased: control-XS72E005-1.0-1.noarch
Dec 15 13:01:20 Erased: update-XS72E005-1.0-1.noarch
Dec 15 13:01:23 Erased: kpatch-modules-0.3.2-4.x86_64
Dec 15 13:01:23 Erased: kpatch-4.4.0+10-modules-0.3.2-4.x86_64
From older XenServer
This is the standard upgrade procedure. You can upgrade your previous XenServer version directly to 7.3 since XenServer 6.2, 6.5, 7.0 and 7.1.
If you are using XenServer 7.2, please read the previous section.
ISO download
You can fetch the ISO here: http://downloadns.citrix.com.edgesuite.net/13371/XenServer-7.3.0-install-cd.iso
The ISO can be burn to a CD but see the next section for USB install.
Install from USB
From any Unix/Linux:
dd if=XenServer-7.3.0-install-cd.iso of=/dev/sdX bs=8M status=progress oflag=direct
Replace sdX with the name of your USB key.
On Windows, use a dedicated program that can write ISO to USB drives.
Partitioning
It's exactly the same as all previous XenServer 7.x version (see our previous blog post: upgrade to XenServer 7.1):
- / (root) 18GB
- /boot/efi 512M
- /var/log 4GB
- Swap 1GB
Are you upgrading from an older version than XenServer 7.0? Or do you have the old partition scheme? Please follow instructions in our previous blog post to switch to the new one.
Rolling pool upgrade
If you have a pool with multiple hosts, there is some basic rules to follow:
Always upgrade the pool master first:
- Migrate VMs from your pool master to slaves
- Upgrade the pool master
- Migrate VMs from one slave to the pool master
- Migrate this slave
- Etc.
You can always live migrate VMs from an older XenServer to a newer. The opposite IS NOT POSSIBLE.
Also, always check to empty your VM CD drives and disable HA during the operation.