Full CloudInit power in XenServer
This is a new article, related to our previous CloudInit introduction, and how it works thanks to Xen Orchestra: without any extra plugin to install on your hosts!
Also, if you need help to build a template (or to download our cloud ready template), please read this post and this one.
Unlock full CloudInit potential
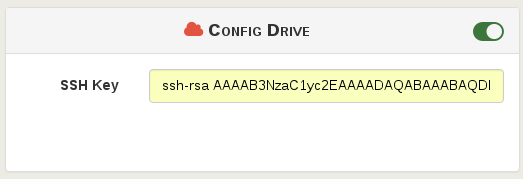
We started by using CloudInit with hostname and the SSH key, as you can see:

It means, when you create your VM, the hostname will be the VM name, and your SSH key will allow you to SSH it directly without any password.
But what about using directly any configuration you want?
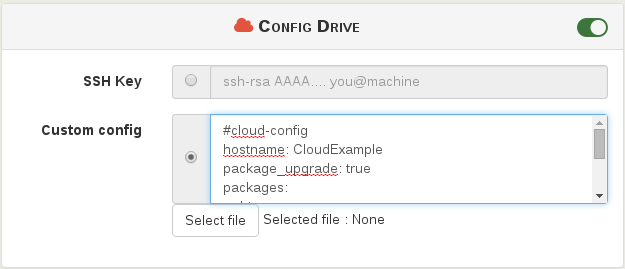
For that, we added a free form, "Custom config":

You can also import a text file with your CloudInit configuration
In this field, you can add any valid CloudInit configuration. Let's explore those new possibilities!
Basic stuff
You can do the same we already did:
#cloud-config
hostname: proxy
ssh_authorized_keys:
  - ssh-rsa <myKey>
This VM will have the hostname proxy with your added key. You want to add more than one SSH key? (maybe the one of your colleague?), trivial:
ssh_authorized_keys:
  - ssh-rsa <myKey>
  - ssh-rsa <itsKey>
Packages
Now, let's go further. In theory, we got a light template without any extra package installed. But, let's continue with our example of a VM making a "proxy" role.
We don't even want to install a package after the VM is created, but during the first boot. That's possible:
packages:
  - squid3
With this config, your VM will be up and running with Squid Proxy Server up and running.
By adding any package, CloudInit, during the initial boot, will update all packages sources (apt-get update), and then install any specified packages.
You can also decide to upgrade your packages by using package_upgrade: true. This way, even if you template is old, you'll have it upgraded each time it boots!
Adding files
Okay, that's great, but how about pushing a configuration file for your proxy server?
write_files:
-  content: |
      # Squid config file
      http_access allow all
      http_port 3128
   path: /etc/squid3/squid.conf
Install a Salt Minion
For those who don't know what's SaltStack, it's like Ansible (and kind of like Puppet/Chef).
In order to have your VM connected to the Salt Master, you just have to:
- install the minion package
- having a DNS entry pointing to the master, like
salt.mydomain.com
So it's very easy to install the Minion with CloudInit, just add the right package:
packages:
  - squid3
  - salt-minion
That's it!
Recap
Now, let's recap what will do your freshly created VM during its first boot:
- changing the template hostname to "proxy"
- adding two SSH keys for the default user
- install
squid3andsalt-minionpackages - deploy the config file for Squid
#cloud-config
hostname: proxy
ssh_authorized_keys:
  - ssh-rsa <myKey>
  - ssh-rsa <itsKey>
packages:
  - squid3
  - salt-minion
write_files:
-  content: |
      # Squid config file
      http_access allow all
      http_port 3128
   path: /etc/squid3/squid.conf
Your system is ready, and you didn't even connected once to it.
Other examples
There is other examples in the official CloudInit documentation. Now, you can unlock the full potential on it using XenServer and Xen Orchestra!
