
VirtOps#6: create a Kubernetes cluster in minutes
Learn how to deploy a full Kubernetes cluster in minutes using our built-in recipe feature in Xen Orchestra, and discover the components running under the hood.


Two years ago, we introduced a new section in Xen Orchestra called Recipes, designed as the foundation for more advanced features. One of the most exciting use cases that followed was the ability to deploy a full Kubernetes cluster in just minutes. Internally, we called this effort Project Pyrgos:

As a big update on this recipe was released with Xen Orchestra 5.106, let's rediscover it together and look how it is easy-to-use!
Creating the cluster
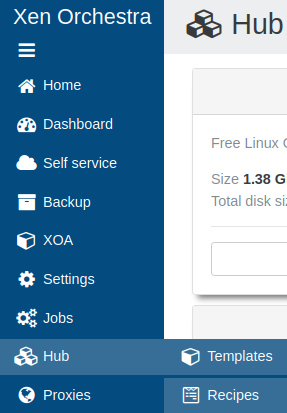
From Xen Orchestra, I go to Hub, then Recipes :
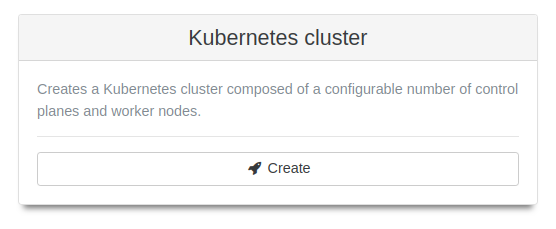
Then I chose the Kubernetes recipe and fill the form.
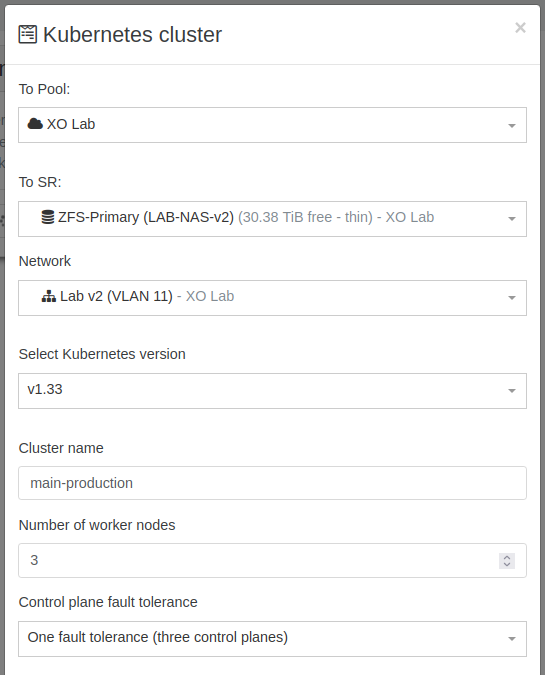
As you can see in the form we can choose the number of nodes use for the control plane, and thus whereas we want it to be highly available and fault tolerant, and also the number of worker nodes.
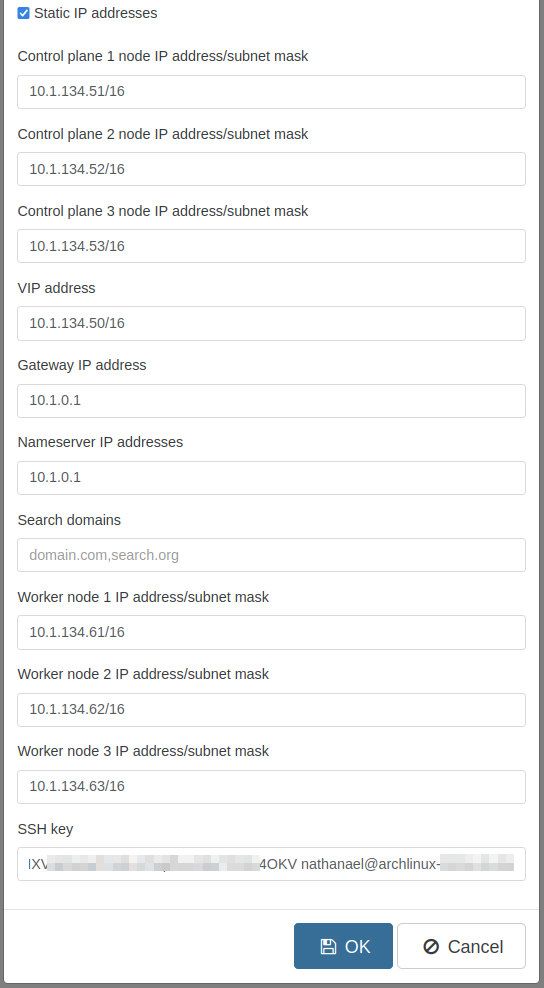
As expected we have to fill information about the virtual machines to be created: which Pool to create the cluster Kubernetes on, which SR (storage repository) to use, which network, which Kubernetes version, the name of the cluster which will be reflected in the name-label of the VMs.
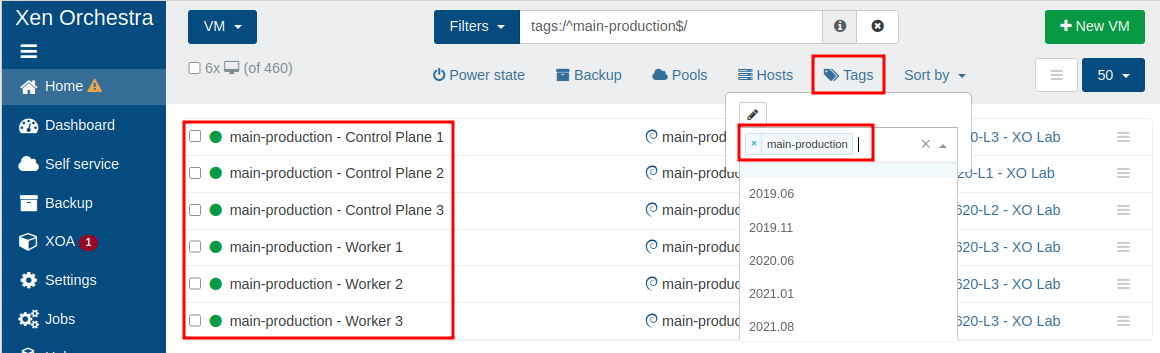
Let's go with a simple HA cluster, with 3 worker nodes!
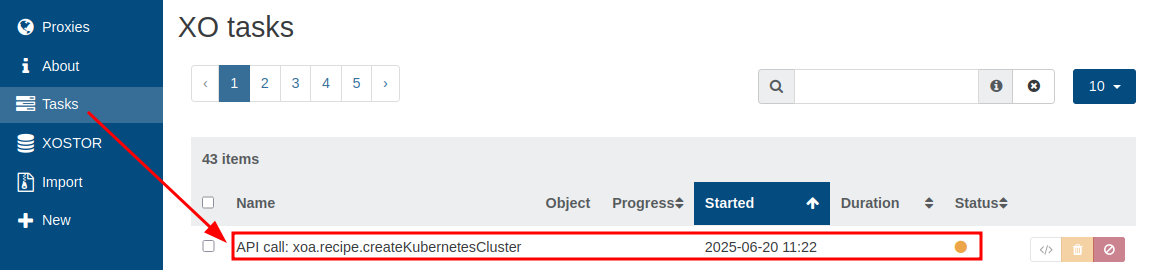
We can see the task has been created, and is running. When it will be finished, it will disappear from the list.
The name provided to the cluster is also used to tag VMs, so that we can easily find them all.
Accessing the cluster
Once the task is done and the virtual machines are deployed, I will connect via SSH on the first node of the control plane, and there I will be able to manage my Kubernetes cluster.
$ ssh debian@<replace-by-vm-ip>

$ debian@cp-1:~$ microk8s kubectl get nodes
NAME       STATUS   ROLES    AGE   VERSION
cp-1       Ready    <none>   40m   v1.33.0
cp-2       Ready    <none>   30m   v1.33.0
cp-3       Ready    <none>   31m   v1.33.0
worker-1   Ready    <none>   31m   v1.33.0
worker-2   Ready    <none>   31m   v1.33.0
worker-3   Ready    <none>   31m   v1.33.0
Here how I can retrieve a kubeconfig file to use external tools to manage my Kubernetes cluster:
$ microk8s config
apiVersion: v1
clusters:
- cluster:
    certificate-authority-data: [...]
    server: https://10.1.134.51:16443
  name: microk8s-cluster
contexts:
- context:
    cluster: microk8s-cluster
    user: admin
  name: microk8s
current-context: microk8s
kind: Config
preferences: {}
users:
- name: admin
  user:
    client-certificate-data: LS0tLS1CRU[...]
client-key-data: LS0tLS1CRUdJ[...]kubeconfig above, I will update the URL with the VIP I defined in the recipe form:server: https://10.1.134.50:16443Cluster architecture
Now let’s take a look behind the scenes to see which components the cluster is built on.
MicroK8S
This recipe was updated last month to use a well known Kubernetes distribution: MicroK8s, from Canonical. This choice was made to ease the maintenance and the lifecycle of the Kubernetes cluster.

This recipe provides a simple way to deploy an official Kubernetes distribution. All of the official MicroK8s documentation is relevant and will help you with your daily use of this cluster.
Add-ons
In addition to the core components of the Kubernetes control plane, this recipe installs automatically the following add-ons:
- DNS: This deploys CoreDNS to supply address resolution services to Kubernetes.
- Helm: Installs the Helm 3 package manager for Kubernetes
- RBAC: Enable Role Based Access Control for authorization. Note that this is incompatible with some other add-ons.
We also include additional components, but only when HA is enabled:
- HA-cluster: Allows for high availability on clusters with at least three nodes.
- Kube-VIP: Provides Kubernetes clusters with a virtual IP and load balancer for both the control plane. This one is deployed using the official helm-chart.
Kubernetes updates
One of the great benefit provided by MicroK8s is the automatic deployment of security updates. Patch release updates (e.g 1.30.x to 1.30.x+1) happen automatically for the installed version of MicroK8s. This really removes a burden from the Kubernetes administrators.
Then for minor updates, (e.g. 1.30.x to 1.31.x) we should simply follow the MicroK8s documentation.