
SSH keys management in Xen Orchestra

Remember our article on playing with CloudInit and XenServer thanks to Xen Orchestra? We managed to improve our UI to get it even easier. Let's take a tour.
Manage your SSH keys
In your user zone, you can manage your keys (create, remove). Click on "New SSH key":

Then fill the key zone. We'll automatically fetch the key name (user@host at the end):
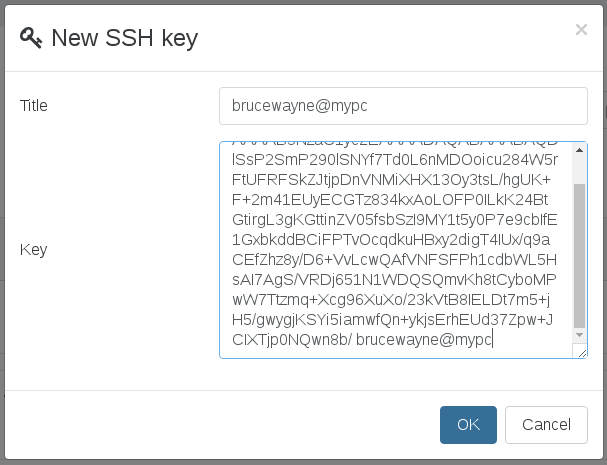
You're done:
Create a VM to use your key(s)
Now we got our "brucewayne@mypc" key, let's create a VM. Use a template with existing disks and CloudInit ready. For those who want a recap, don't forget to read our previous blog posts on this topic:
- use CloudInit with XenServer
- download free CloudInit XenServer templates of CentOS or Debian
In the "Install settings" category, activate "Config drive" option:
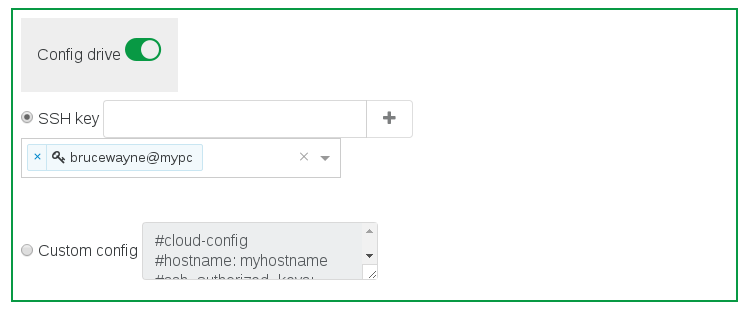
We automatically add the first existing key. If you create a VM right now with this setting, user "brucewayne" with his key can access the VM without a password.
But we did more.
Create keys on the fly
Maybe you want to add a key without going back to your user zone (because you set a lot of things in the current VM creation view). No problem, just fill the "SSH key" field and click on "+" icon. It will add the key in the select and save it for later use:
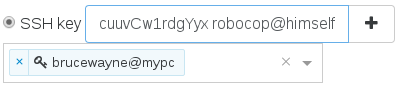
And it's added:
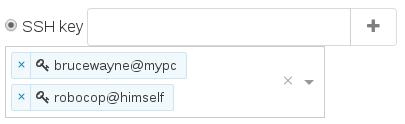
If you create the VM now, both users with their keys can access the VM without a password.
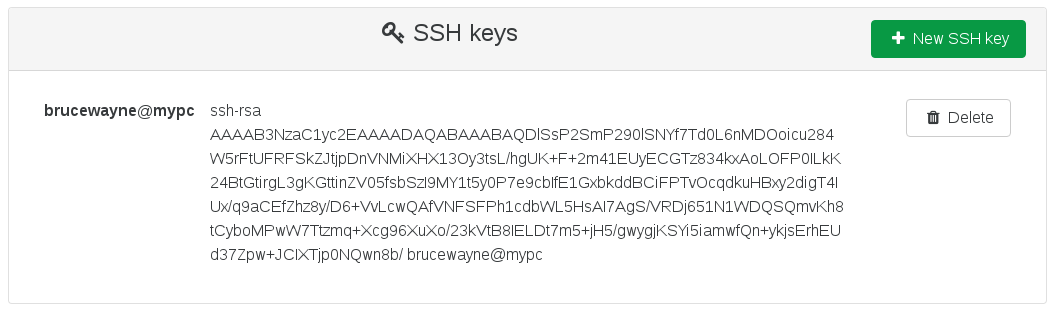
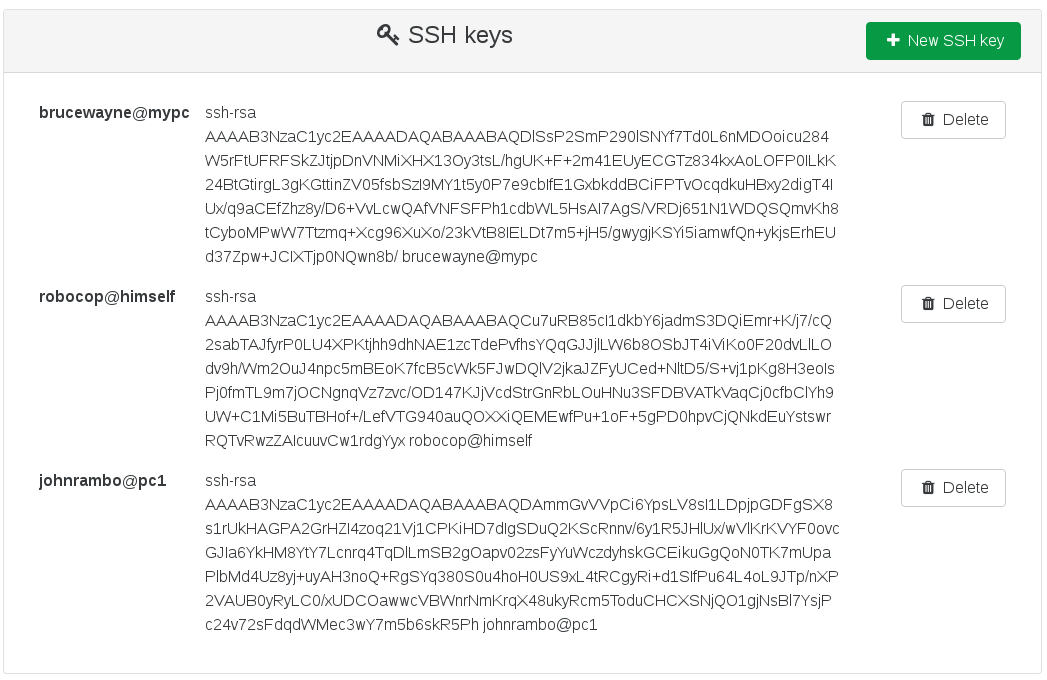
And if you go back to your user zone, you can see all these news keys:
This feature will help you to create VMs in few clicks and seconds, without anything to manually enter after your keys are saved.