
Docker support in XenServer, the ultimate guide
Docker guide to have your container exposed in XenServer.

Because we created ourselves an interface to the XenServer Docker plugin in Xen Orchestra, we learned exactly how it works, and how to use it. That's why we are sharing this here in a guide for users, but also for people who want to understand how it works.
FYI, Xen Orchestra supports Docker controls in the VM view since 4.0, 6 months ago! But now, we also supports VM creation with direct Docker support, using CoreOS template.
This guide is also available in our official documentation!
Prerequisite
- XenServer 6.5 or higher
- Plugin installation (see below)
- CoreOS ISO (download it here) for CoreOS installations
- Xen Orchestra 4.10 or newer
Docker plugin installation
This first step is needed until Docker is supported nativly in the XenServer API (XAPI).
The plugin should be installed in every hosts, even if they are on the same pool.
For XenServer 6.5
- SSH on your XenServer
- Download the plugin:
wget http://downloadns.citrix.com.edgesuite.net/10343/XenServer-6.5.0-SP1-xscontainer.iso
- Install it:
xe-install-supplemental-pack XenServer-6.5.0-SP1-xscontainer.iso
For XenServer 7.0
- SSH on your XenServer
- Download the plugin:
wget http://downloadns.citrix.com.edgesuite.net/11621/XenServer-7.0.0-xscontainer.iso
- Install it:
xe-install-supplemental-pack XenServer-7.0.0-xscontainer.iso
For XenServer 7.1
- SSH on your XenServer
- Download the plugin:
- Install it:
xe-install-supplemental-pack XenServer-7.1.0-xscontainer.iso
For XenServer 7.2
- SSH on your XenServer
- Download the plugin:
wget http://downloadns.citrix.com.edgesuite.net/11993/XenServer-7.2.0-xscontainer.iso
- Install it:
http://downloadns.citrix.com.edgesuite.net/12641/XenServer-7.2.0-xscontainer.iso
That's it! You are ready for enjoying Docker support!
Docker managed VMs
There is two ways to use the newest exposed Docker features:
- install a CoreOS VM
- transform an existing VM in supported Docker VM
CoreOS
CoreOS is a Linux distribution with bundled software, like etcd, rkt, fleet etc. The ISO install CD is also using CloudInit (which is the interesting thing here).
![]()
Create the VM
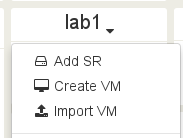
First thing first, create a new VM as usual:
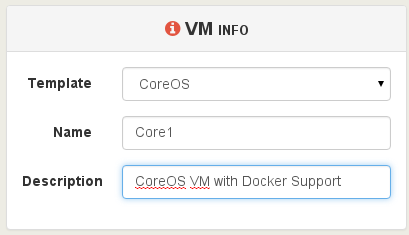
Then, select the "CoreOS" template in the list and name it as you want:
Select the CoreOS ISO as source for the installation:

You will also notice Cloud Config panel:
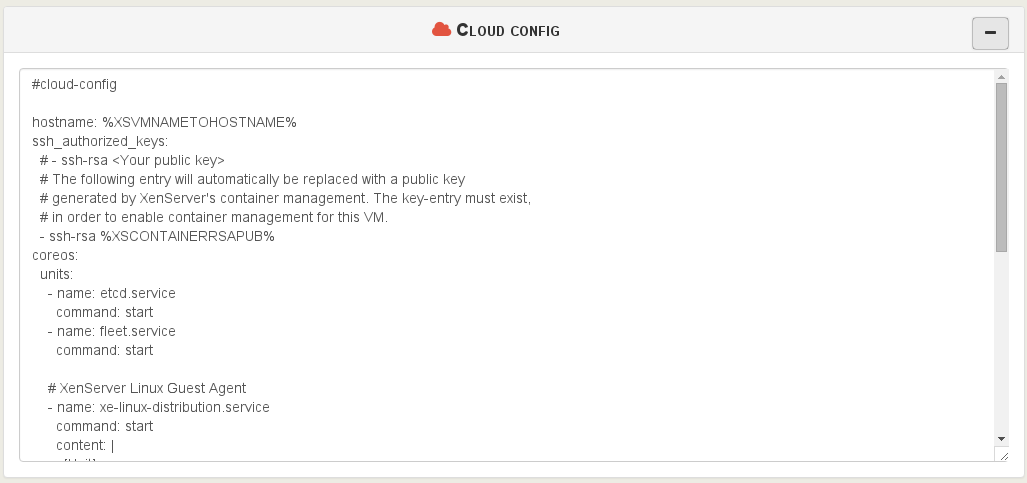
You'll have to uncomment the line:
# - ssh-rsa <Your public key>
And replace it with your actual SSH public key:
- ssh-rsa AAAA....kuGgQ me@mypc
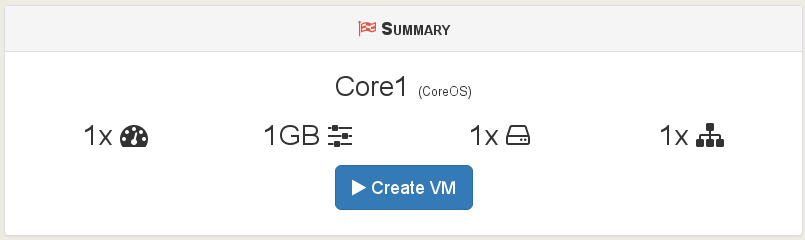
The rest of the configuration is identical to any other VM. Just click on "Create VM" and you are done:
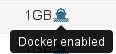
Your VM is now ready. Nothing else to do. You can see it thanks to the ship logo in the main view:
But also in the VM view, you'll have a Docker panel:

It's empty, for sure, because you don't have any Docker container running. So now, let's boot the VM, and create some Docker containers!
You should be able to access the VM with the user core and your SSH key (so no password to write!). Oh and the good news: because Xen tools are installed automatically, you already have the IP address displayed in Xen Orchetra:

So in our example (use the core user):
me@mypc $ ssh core@192.168.100.209

The authenticity of host '192.168.100.209 (192.168.100.209)' can't be established.
ED25519 key fingerprint is SHA256:NDOQgOqUm3J2ZsBEMNFCpXE1lTsu4DKqKN6H7YcxS3k.
Are you sure you want to continue connecting (yes/no)? yes
Warning: Permanently added '192.168.100.209' (ED25519) to the list of known hosts.
Last login: Sun Nov 22 21:00:05 2015
CoreOS stable (607.0.0)
Update Strategy: No Reboots

core@core1 ~ $
You are now connected! Let's make some tests before installing it on the disks.
core@core1 ~ $ docker run --name hello -d busybox /bin/sh -c "while true; do echo Hello World; sleep 1; done"
Unable to find image 'busybox:latest' locally
Pulling repository busybox
17583c7dd0da: Download complete
d1592a710ac3: Download complete
Status: Downloaded newer image for busybox:latest
150bc05a84971489b2dd5dc99fe0169cdbd23599d6fac55a6a8756a3c6f52853
Guess what? Check in Xen Orchestra, in the VM view:

You can now "cycle" this container: stop, pause or reboot it!
CoreOS installation
Now it works, you can make a persistent installation of your CoreOS VM. In the same SSH terminal used before, just type:
core@core1 ~ $ sudo coreos-install -d /dev/xvda -o xen -C stable
You should have this output:
Downloading the signature for http://stable.release.core-os.net/amd64-usr/607.0.0/coreos_production_xen_image.bin.bz2...
...
Downloading, writing and verifying coreos_production_xen_image.bin.bz2...
Success! CoreOS stable 607.0.0 (xen) is installed on /dev/xvda
You can reboot the VM and even eject the CoreOS ISO: it will boot as a normal VM now!
How it works
During the VM creation, the XenServer "XSContainer" plugin will create an extra disk: "Automatic Config Drive", with a size of 2MB. This is where the necessary configuration you edited previously (with the SSH key) is passed to the CoreOS VM! In fact, it uses CloudInit.
What is CloudInit?
CloudInit is a software created to simplify VM provisioning for Cloud instances: it was originally developed for the Amazon Cloud, but works with all major Cloud ready systems, like OpenStack for example.
Basically, it reads configuration during the boot, allowing:
- SSH keys management for newly created VM/instances
- Root disk filesystem growing
- User/group management
- Arbitrary commands execution (system update, custom scripts etc.)
In our case, it's used by the XSContainer plugin to allow host communication to the Docker daemon running in the VM, thus exposing Docker commands outside it.
Existing VMs
You can also use the XSContainer plugin to "transform" an existing VM into a "Docker" managed one.
You need to have this installed inside the VM:
- Docker
- openssh-server
- ncat
For Debian/Ubuntu like distro: apt-get install docker.io openssh-server nmap. For RHEL and derived (CentOS...): yum install docker openssh-server nmap-ncat.
To use Docker as non-root, please add the user you want inside the "Docker" group, eg with:
sudo usermod -aG docker $(whoami)
Now, you need to access to your host (Dom0) and use the following command:
xscontainer-prepare-vm -v <VM_UUID> -u <username>
Because "prepare-vm" is not exposed outside the Dom0 (yet?), we can't use Xen Orchestra to give you a one-click solution so far.
The future?
Today, the XenServer "XSContainer" plugin is a nice way to start to play with Docker and expose it outside XenServer. With Xen Orchestra, you can already delegate rights to your developers only on dedicated VMs running CoreOS and Docker: this way, they can manage their containers in a easy way, and they can reboot the VM if necessary.
But it could be also a great start for other features:
- CloudInit support for other templates: using ISO reading CloudConfig Drive, we could imagine to give you the possibility to provision VMs in Xen Orchestra like any other Cloud system: pass the user SSH key, grow the disk to a desired size, create users etc.
- Better Docker activation, exposed directly in the XAPI, allowing XO to transform a VM into a Docker managed one.
![]()